
Palm Partnership Training™
Building a Partnership with Your Horse“
I think you will agree that this type of training and handling will make your horse easier to train in the future and more enjoyable to be around. The lessons have direct application and benefit to under saddle work. The time you spend in groundwork lessons should pay off in increased respect and confidence from your horse.
What is working at liberty? It is a ground-training tool to train and exercise the horse where he is free to move and respond to your voice and longe whip commands, within a safe, enclosed area like a paddock. Working at liberty is sometimes called “free longing” since the horse is exercising free from a longe line.
You don’t need any fancy tools or expensive equipment. The horse should be outfitted with a well fitting halter, a longe line or lead, and leg protection such as polo wraps. I prefer conducting this lesson in a medium to large size indoor or outdoor paddock or arena, rather than a round pen. It should have a fence at least 4 foot high to give the horse more security. The footing should be soft, but not deep. A grassy surface is fine as long as it is not wet and slippery.
Find someone to help you introduce liberty work to your horse, it will be much easier especially if you will be working in a larger sized paddock. I will introduce this lesson using a helper who will assist me. In later newsletters, I will explain how to work at liberty if you are alone.
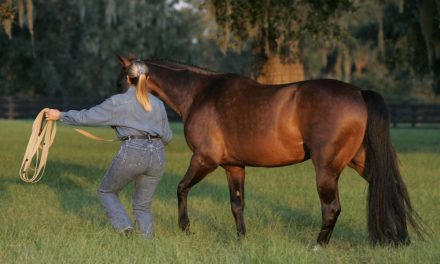
Let’s review the proper use of the whip since it is such an important tool for work at liberty. For the lesson each handler needs a longe whip. The whip is an extension of the handler’s arm. It is carried in the left hand, if the horse is tracking or moving to the right, and vice versa. The handler’s holds it with arm outstretched to the side, not behind her. It whip only used to encourage the horse to move forward WHILE a voice command is given top reinforce the “go forward” command, as needed.
Here is the progression to use with the whip to ask the horse for forward movement. When the tip of the whip is held down touching the ground, it is inactive and not asking for a response from the horse. When the whip is extended in height, gradually to a point approaching 45-degrees overhead, it means move forward. If more response is needed, swing the whip toward the horse’s hip with just a “breaking” of the wrist to ask him to move forward. If more response is needed, use the same action but snap the whip. This is the most aggressive way to use it.
Most commonly, handlers use the whip in an “up and down” motion. This is not effective for the horse because you are not using the action of the tool (the whip) towards him.
Working at Liberty-Phase I: Handler’s Position
I’m going to break down the explanation of working at liberty into the steps that you should follow each time you use this training tool. The first phase is properly positioning the handlers and releasing the horse so he can relax and warm up.
Start by mentally dividing the paddock or arena you will be using in half, the long way. The correct position for handlers will be to stand at either end of the paddock close to or on the centerline throughout the lesson. The handlers will work on this line to keep the horse moving forward and in one direction. Staying on this imaginary line also helps handlers to avoid the temptation of chasing the horse around the paddock’s perimeter.
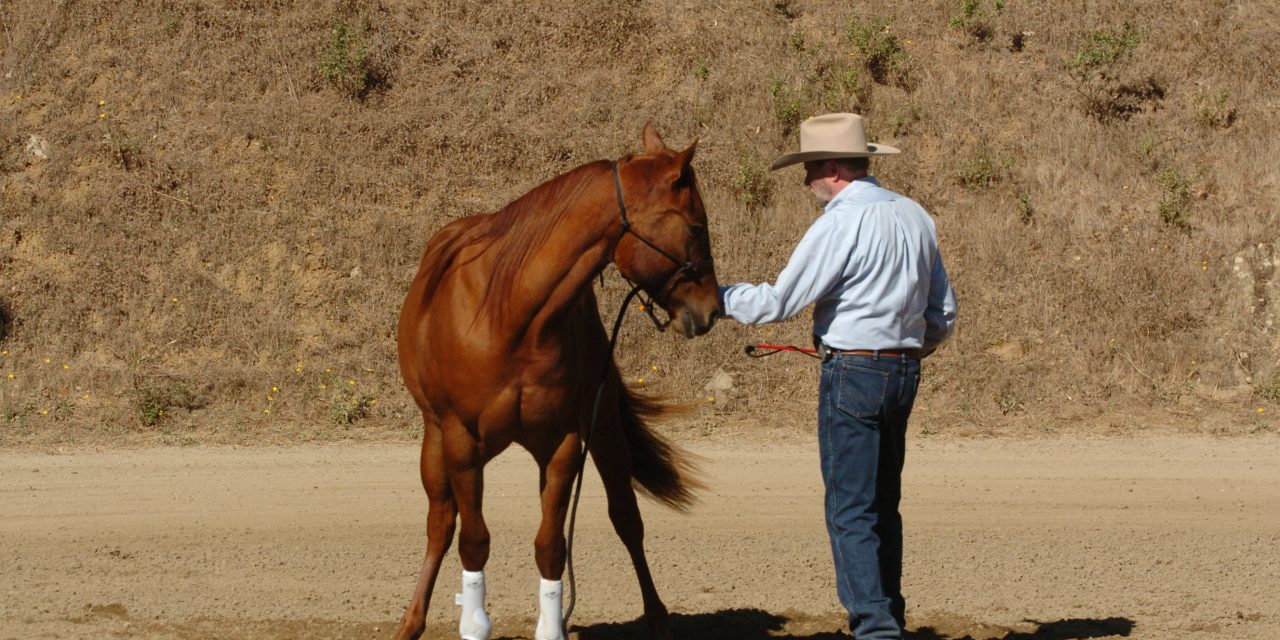
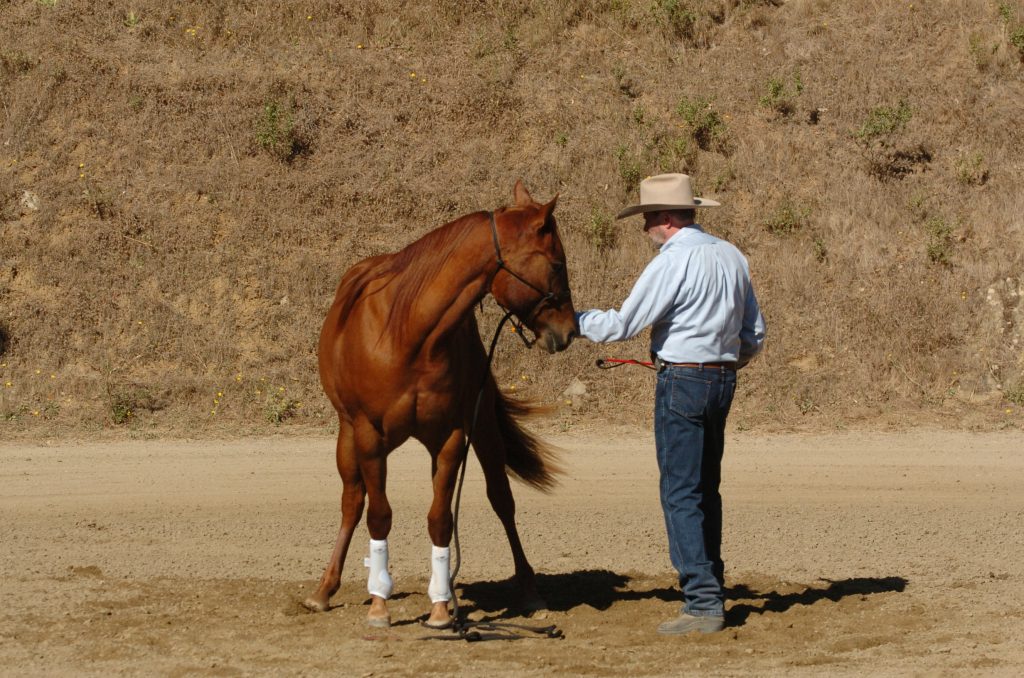
Ask your helper to stand on the centerline at one end of the arena, approximately 10-15 feet away from the fence line. Allow enough distance so horse feels comfortable and will willingly pass between the fence and the handler. Once the handler is in place, lead your horse down to the other end of the arena and ask him to “whoa”. Drop your whip, coil any excess longe line in your hand as you walk toward the horse and prepare to release the longe line from his halter.
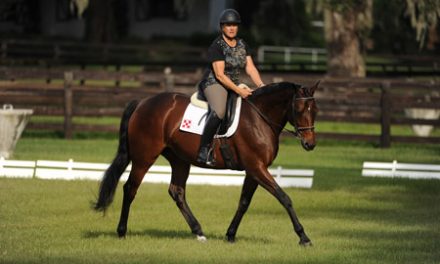
Q&A With Lynn Palm
I get many questions about mounting. Here’s one we can all learn from.
I have problems mounting my
Quarter Horse. I can get almost up but I give out when it’s time to swing my
leg over. Do you have any tips on strengthening my legs to make mounting less
stressful to my horse and me?
It sounds like there may be several issues happening to cause this situation. If your horse that does not stand still for mounting is not just difficult to get on, it can be safety problem. Your horse may be thinking to fast and walking away in anticipation that you will ask him to go forward immediately after you mount up. More likely, he is trying to catch his balance because you are not mounting him properly. Here are some specific steps you can do at home to improve this situation.
I suggest that you start working with a mounting block. These are inexpensive, plastic step-like platforms made to give a rider an elevated surface to mount from. Because the mounting block will put you higher off the ground, it will be easier for you to mount and swing your leg over the horse. Mounting blocks also decrease the stress on the horse’s back from riders who pull themselves up into the saddle.
As you build up your strength using the mounting block, you also want to teach your horse to stand to allow you to mount properly. To reinforce this lesson, mount your horse in the same location every time you ride. Choose a spot where you can position your horse between a fence and the mounting block. The fence will help him stay straight and focused. Ask your horse to stand “square”. This means positioning him so that his hooves are positioned like the 4-corners of a rectangle and his weight is equally distributed on all four legs.
Ask him to “whoa” and step up on the mounting block as if you were going to get on him, but do not mount. Because you will be standing above his topline, he may need some time to accept you in this new “elevated” position. He may also move, anticipating that you will be mounting and he will need to balance himself. If he does, reposition him and repeat this step. Take time for this step and do not proceed until he is relaxed.
Next I want you to practice your mounting procedure using the block while teaching your horse that mounting does not mean move forward. Position him in the mounting spot and ask him to “whoa” by putting slight tension on the reins. Place the reins over his neck being careful to maintain the same amount of tension in each rein. Riders have the tendency to pull on the left rein while mounting, causing their horse to circle toward them. This makes getting on more difficult.
Keep your hands in front of the saddle to prevent this. If your horse wants to move as you attempt mount, avoid walking him in a circle to get back into position. This will only reinforce that mounting means it is OK to move forward. Instead, stop him and back him up the to block or reposition the block next to him.
Once your horse in is position, step up on the block and gather up the reins by sliding your left hand on the horse, starting at the buckle and moving up on the horse’s neck. Still holding the reins, move your left hand so it is grasping the front of the saddle as you place your right hand on the saddle’s cantle. Put your left foot in the stirrup and start to mount, but just swing your leg only halfway over his back, then dismount. Praise your horse when he stands still. Do this several times. You may need to repeat this lesson over several days or weeks until he understands that mounting does not mean moving forward.
When he shows he is willing to stand perfectly still for the “half” mount, swing your leg over his back. As you do, transfer your right hand from the cantle to the saddle’s pommel to help you balance. Then sit down on his back, but do it as softly as possible. Mounting this way, without pulling the saddle across his back, will encourage him to stand still.
After you and your horse have mastered mounting with the block, you still have some homework to do. Use the mounting block to help you build up strength in your arms and legs to allow you to mount from the ground. Most mounting blocks have two steps. Practice mounting from the highest step, gradually graduate down to the lowest step as your strength improves, until you can mount from the ground. Continue using the same mounting spot to reinforce your horse’s understanding to stand once you graduate to getting on from the ground.
Good luck as you and your horse take this next step together!
Your Next Step with Liberty…
No matter what it’s called, liberty work has several important benefits including being:
- An excellent conditioning exercise…much better than continuous circling the horse on a longe line or in a round pen which can stress his joints because he will be able to go straight as well as turn through corners. This keeps him from becoming bored and stale.
- A great way for your horse to learn voice commands…you will use these to encourage him to change gaits, speed, and stop.
- A way to “read” a horse’s temperament and personality…because you will be observing the horse moving freely from a ground perspective you see his response to being asked to move through different gaits and his reactions to these commands.
- A great way to teach your horse voice commands…because you will not be in physical contact with the horse, he will learn to respect and react to your voice.
- A great way to evaluate a horse’s athleticism as he becomes better fit and conditioned… because of your perspective on the ground and ability to see the horse’s movement.
In the next article, we’ll move on to Phase II of liberty work training…releasing the horse and relaxing him through liberty work.
Until then, follow your dreams…
